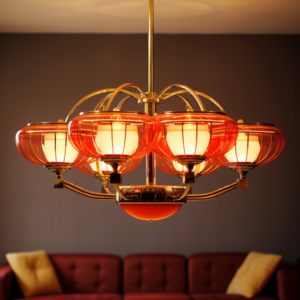
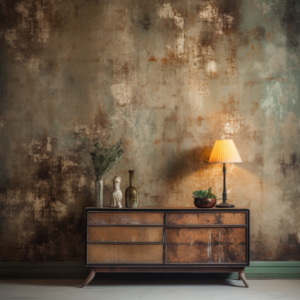
Vintage furniture has a unique charm that adds character and history to your home. Restoring and renewing these pieces not only preserves their beauty but also gives them a new lease on life. Whether you’re a seasoned DIY enthusiast or new to furniture restoration, here are some valuable tips to help you bring vintage furniture back to its former glory:
1. Assess the Condition
Before diving into restoration, thoroughly assess the condition of the vintage furniture. Take note of any scratches, dents, watermarks, loose joints, missing parts, or structural issues. A detailed inspection will help you create a restoration plan tailored to the specific needs of the piece.
2. Gather the Right Tools and Materials
Ensure you have the necessary tools and materials on hand before you begin. Common tools for furniture restoration include sandpaper (various grits), wood glue, clamps, screwdrivers, chisels, wood filler, paintbrushes, and finishes like paint, varnish, or wax. The specific tools required will depend on the extent of the restoration.
3. Clean Thoroughly
Start the restoration process by cleaning the vintage furniture. Remove dirt, grime, and old finishes using a mild detergent and water. For stubborn stains or buildup, consider using a gentle solvent appropriate for the finish. Allow the piece to dry completely before proceeding.
4. Repair Structural Issues
Address any structural problems, such as loose joints or wobbly legs, first. Disassemble the furniture if necessary and re-glue loose parts. Use clamps to hold pieces together while the glue dries. Reinforce joints with screws or dowels if needed. For missing or damaged parts, consider replicating or replacing them using matching wood.
5. Sand and Strip
To prepare the surface for refinishing, sand the furniture thoroughly. Start with a coarse-grit sandpaper to remove old finishes, paint, or imperfections. Gradually progress to finer grits to achieve a smooth surface. If you’re working with a piece that has intricate details or veneer, be careful not to sand too aggressively, as you may damage these features.
6. Choose a Finish
Decide on the finish you want for your vintage furniture. Options include painting, staining, varnishing, or applying a protective wax. The choice depends on the piece’s style and your personal preferences. Keep in mind that some vintage furniture, like mid-century modern pieces, may look stunning with a simple, clear finish that highlights the wood’s natural beauty.
7. Apply Finish Carefully
Apply the chosen finish with care, following the manufacturer’s instructions. Use a high-quality paintbrush or spray equipment for an even application. Allow each coat to dry completely before applying subsequent coats. Sand lightly between coats to achieve a smooth and flawless finish.
8. Reassemble and Restore Hardware
Once the finish is dry, reassemble the vintage furniture, ensuring all parts fit snugly. If applicable, restore or replace any hardware, such as knobs, handles, or pulls, to complete the look. Polishing or refinishing metal hardware can make a significant difference in the overall appearance.
9. Protect and Maintain
After completing the restoration, protect your vintage furniture from everyday wear and tear. Use coasters, placemats, and tablecloths to prevent watermarks and scratches. Regularly dust and clean the piece with a soft, damp cloth. Periodically inspect for any signs of wear or damage, addressing them promptly to prevent further deterioration.
10. Seek Professional Help When Needed
While DIY restoration can be rewarding, some vintage furniture may require professional expertise. If you’re uncertain about tackling a complex restoration or dealing with valuable antique pieces, consult a professional furniture restorer or conservator to ensure the best results and preserve the piece’s historical value.
By following these tips and taking your time with the restoration process, you can transform vintage furniture into cherished and functional pieces that enhance your decor while preserving their unique character and history.


